

Zero correction of KUKA robot
Zero correction of KUKA robot
In the process of transportation, the robot will sometimes lose the zero point of its axis, or after replacing the motor and RDC, it will also lose the zero point of its axis. Special tools are needed to calibrate the axis of the robot.
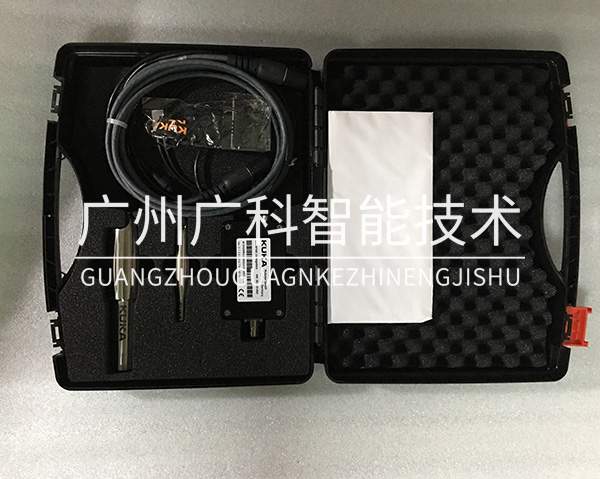
Robot axis zero correction tool: EMD
Each zero position of robot axis:
Calibration steps:
Step 1: T1 mode, no program selection, program start button is normal, and each axis of the robot reaches the position near zero;
Step2: connect EMD as shown in the figure below, and the robot is X32;
Step 3: as shown in the figure below, unscrew the cover with the end of the device, and screw the device to the predetermined position;
Step 4: click the main menu button of the teacher. select run-adjustment-emd-standards-perform zero calibration;
Step 5: connect with EMD. EMD in the zero calibration area is green and can be corrected.
If the bottom is red, it means that EMD is not in the zero calibration area, and it is necessary to manually move the robot uniaxially to the designated position, as shown in the figure below (note: the EMD device should be a little more in the positive direction of the robot axis, because the robot will move in the negative direction of the single axis when performing the zero calibration).
Step 6: power up the servo. Click the calibration button and press the program start button until the calibration is completed.
After the correction, the EMD will reach the position below
Source: guangke intelligent reprint source